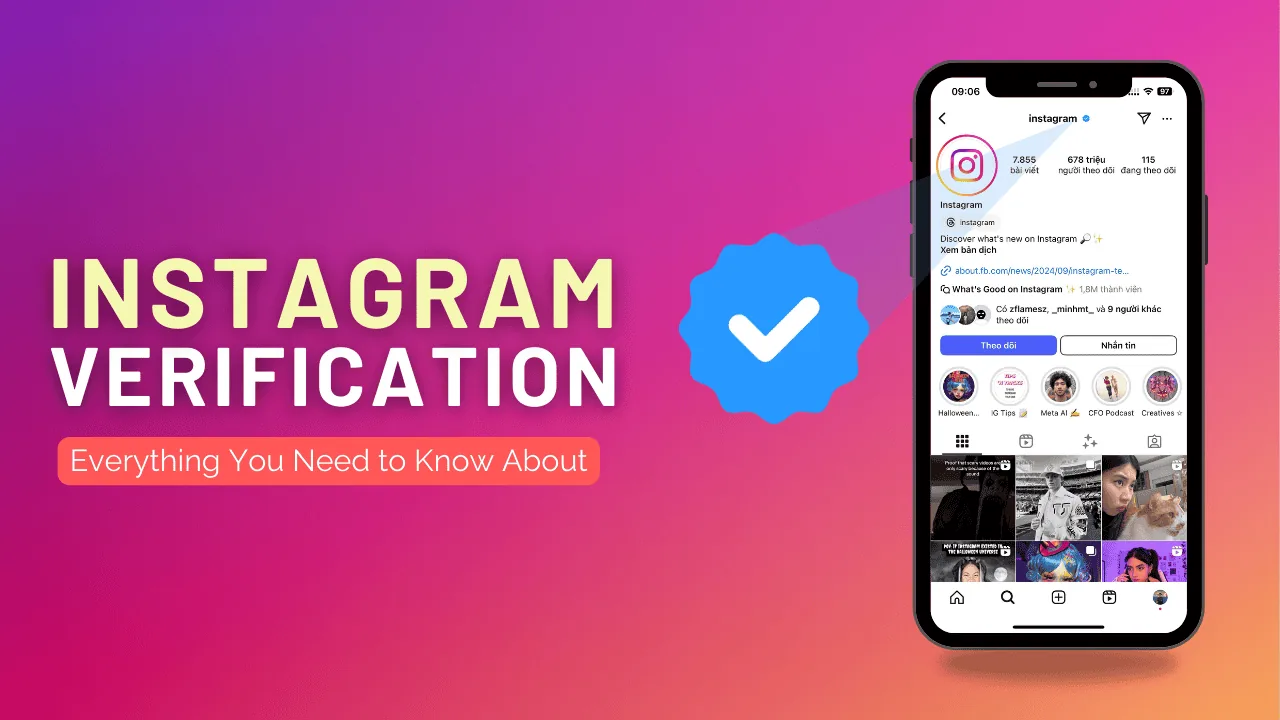
How Can I Get Instagram Verification?
Free blue-check verification requires proving your account is authentic, unique, complete, and notable (genuinely covered by multiple independent news sources) via a government ID submitted through Account Center — it's a separate process from the paid Meta Verified subscription.
Short answer
Free blue-check verification requires proving your account is authentic, unique, complete, and notable via a government ID submitted through Account Center — it's a separate process from the paid Meta Verified subscription.
Quick answer
There are two different "blue checks" on Instagram now, and they work differently. The original free verification badge is reserved for accounts Instagram determines are authentic, notable, and at risk of impersonation — you apply through Settings, submit a government ID, and Instagram's review team decides. Meta Verified is a separate paid monthly subscription that gets you a badge, proactive impersonation monitoring, and support access, but does not require you to prove you're notable or newsworthy in the same way.
Key takeaways
- Free verification requires meeting all four criteria: authentic, unique (one account per person/business, with limited exceptions), complete (public profile, bio, profile photo, active posts), and notable — meaning you're featured in multiple recent, independent news sources, not just social media buzz or paid placements
- Meta Verified is a paid subscription (roughly $11.99/month on web, more on iOS/Android due to app store fees, prices vary by country) that adds a badge plus proactive account protection, but doesn't require the "notable" bar
- Applications for free verification are reviewed by a mix of automated and human review and can take anywhere from a few days to several weeks
- A denied application isn't final — Instagram lets you reapply, but generally only after 30 days
- Paying anyone who promises guaranteed verification is a scam; there's no legitimate paid shortcut to the free badge
How to apply for free verification
- Open Instagram and go to Settings and privacy
- Tap Account Center (this now houses verification requests across Instagram and Facebook)
- Under your Instagram account, look for "Request verification" (on some app versions it's still under Settings > Account > Request Verification instead of Account Center — Meta has been migrating this over time)
- Choose the category that best describes you or your business
- Upload a valid government-issued photo ID (driver's license, passport, or national ID) that matches the name on your profile
- Submit links or documentation showing coverage of you or your business in independent news outlets — press mentions, not sponsored content, interviews you paid for, or your own website
- Submit and wait for Instagram's review team to respond, either in-app or by email
What "notable" actually means
This is where most applications fail. Instagram is looking for genuine public interest coverage — being mentioned or profiled by outlets that didn't get paid to write about you. A large following, high engagement, or being active in your niche does not count as notable on its own. Wikipedia entries, coverage in recognized news publications, or being a public figure in your field (politics, entertainment, sports, journalism, business) carry real weight. Sponsored posts, guest podcast appearances, or self-published blog mentions generally do not.
Meta Verified vs. free verification
Meta Verified is a subscription you buy directly in the app under Settings > Meta Verified. It still requires ID verification and an active posting history, but it does not require you to demonstrate notability in the press sense — it's aimed at everyday creators and small businesses who want the badge, extra impersonation protection, and account support. The two badges look identical on the profile, but they come from different programs with different requirements and different costs (free application vs. monthly fee).
Common mistakes to avoid
- Applying with a private account, incomplete bio, or no profile photo — Instagram checks for a complete, active profile before anything else
- Submitting fan pages, memes, or paid mentions as "notability" evidence instead of independent journalism
- Using a business name or nickname on the ID upload that doesn't match your displayed profile name
- Reapplying immediately after a denial instead of waiting the required cooldown and strengthening your evidence first
- Paying a third-party "verification service" — this is never how legitimate verification is granted and is a common scam target
Tips
- Build a real media presence before applying: local news, trade publications, or notable podcasts count more than follower count
- Keep your profile fully public with consistent posting for a while before applying — incomplete or dormant-looking accounts get rejected quickly
- If denied, read the denial reason carefully (when Instagram provides one) and address that specific gap before reapplying rather than resubmitting the same evidence
Frequently asked questions
Apply through Settings > Account Center (or Settings > Account > Request Verification), submit a government ID, and provide evidence that independent news outlets have covered you or your business. Instagram's review team then decides based on authenticity, uniqueness, profile completeness, and notability.
Sources
Keep reading
More guides to grow your account.