How Can I Upload Video on Instagram from My Camera Roll?
Tap the + button, select Post or Reel, then switch to the Gallery tab to pull a video from your camera roll instead of recording it live — you can trim it, set a custom cover image, and save it as a draft before deciding to publish.
Short answer
Uploading from your camera roll means tapping + and selecting Gallery instead of recording live in-app — this lets you use footage edited elsewhere, pick any frame as the cover image, and hold the post as a draft for as long as you want before publishing.
Quick answer
When you tap the + button to start a new post or Reel, Instagram defaults to showing the in-app camera, but tapping the Gallery (or Library) tab at the bottom of that screen switches you to your device's saved videos so you can upload previously recorded or edited footage instead of filming fresh. From there you can trim, choose a cover frame, add music or captions, and either publish immediately or save the whole thing as a draft.
Key takeaways
- The Gallery/Library tab, not the live camera shutter, is where you pull in video already saved to your phone
- You can select multiple clips from your camera roll at once and combine them into one Reel or carousel post
- Instagram lets you set a custom cover image separately from the video's first frame, including uploading a completely different photo as the cover
- Drafts save your edits (trims, filters, text, cover) so you can leave a post unfinished and come back to it later without losing progress
- Videos edited in outside apps (like a dedicated video editor) generally look cleaner after Instagram's compression than clips shot and heavily filtered entirely in-app
Recording live vs. uploading from your camera roll
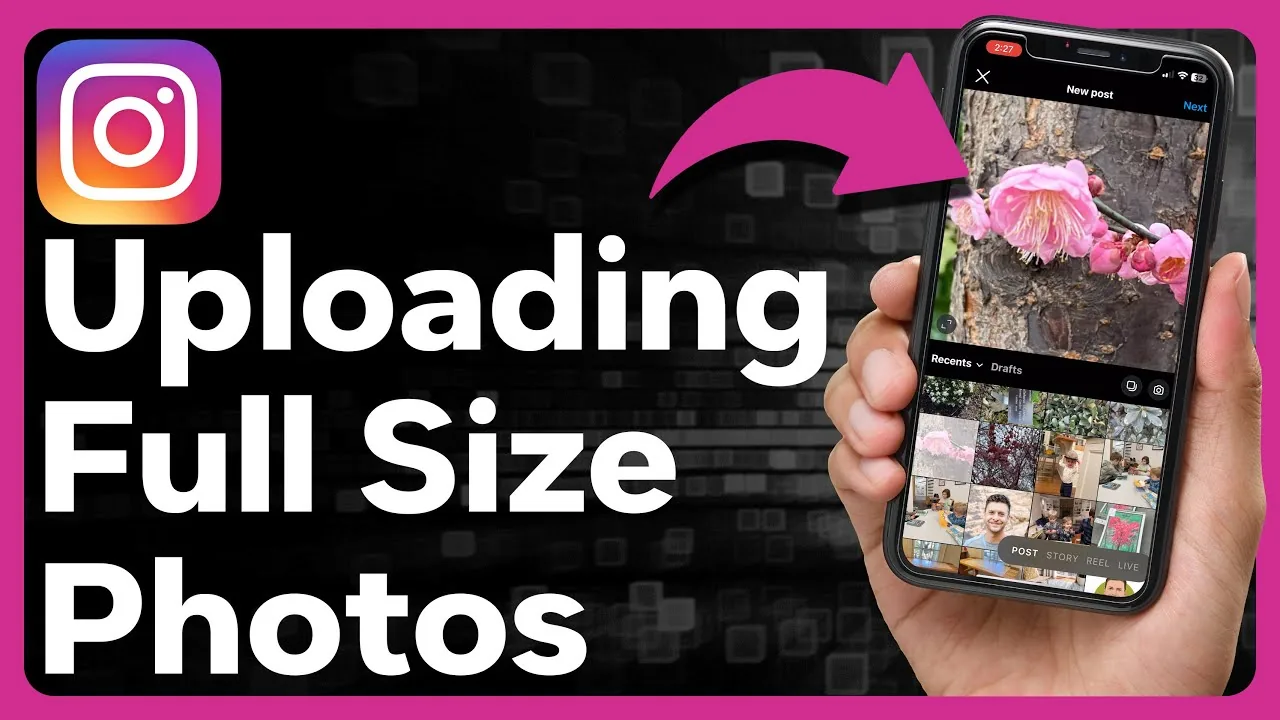
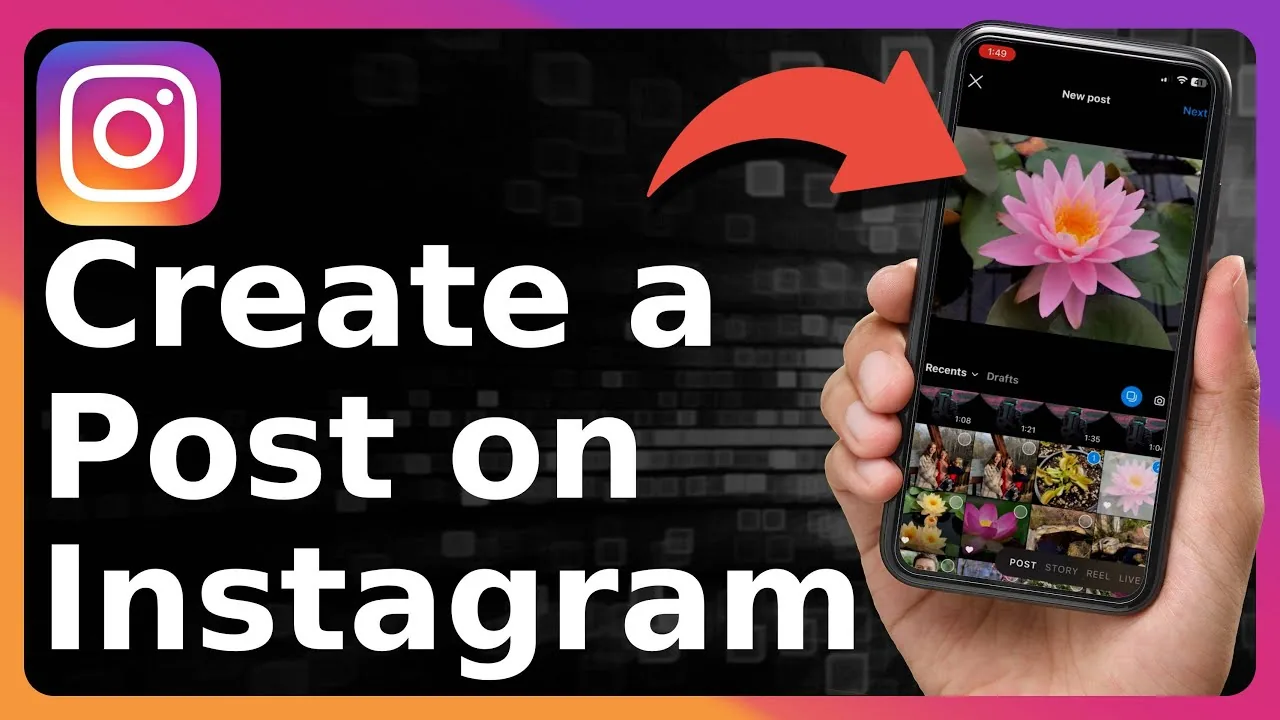
Instagram's creation flow always opens to the camera first, which leads a lot of people to assume filming in the moment is the only option. It isn't. At the bottom of the camera screen there's a row of format options (Post, Story, Reel, Live) and, separately, a small thumbnail preview in the bottom-left corner that opens your Gallery. Tapping that thumbnail — or the Gallery/Library label depending on your app version — switches the whole flow to picking from videos already saved on your device, whether that's something you filmed earlier, downloaded, AirDropped, or exported from an editing app like CapCut or iMovie.
Uploading from your camera roll gives you more control: you're not limited to Instagram's in-app filters and effects, you can pre-edit pacing and color grading elsewhere, and you can select a specific frame — or an entirely separate image — as the cover thumbnail that appears in your grid, rather than being stuck with whatever the first frame of the video happens to look like.
Step-by-step
- Tap the + icon at the top of your Home feed or on your profile
- On the camera screen, tap the small square thumbnail in the bottom-left corner, or the Gallery/Library tab, to open your saved videos
- Choose Post or Reel at the top of the screen depending on the format you want
- Select one or more videos from your camera roll (tap multiple to combine them into a carousel or multi-clip Reel)
- Trim each clip using the timeline handles, and reorder clips if you selected more than one
- Tap Edit cover (or the cover icon) to choose a specific frame from the video, or upload a separate photo as the cover image
- Add your caption, tags, and location, then either tap Share to publish or tap the back arrow and choose Save draft to finish later
Common mistakes to avoid
- Only ever using the live camera and never realizing the Gallery tab exists for uploading pre-recorded footage
- Forgetting to check or set a custom cover image, resulting in an awkward mid-blink or transition frame representing your post in the grid
- Losing track of unfinished drafts — Instagram stores them locally on the device you created them on, so switching phones can leave old drafts behind
- Uploading a video with a resolution mismatch (like a very old, low-resolution clip) into a new post next to sharper content, creating a visibly inconsistent profile grid
Tips for success
- Edit trickier footage in a dedicated video app first, then upload the finished export from your camera roll for more consistent results than in-app editing tools alone
- Always double-check the cover frame before publishing — it's one of the easiest things to overlook
- Use drafts deliberately: save a version, sleep on it, and review the caption and pacing again before it goes live
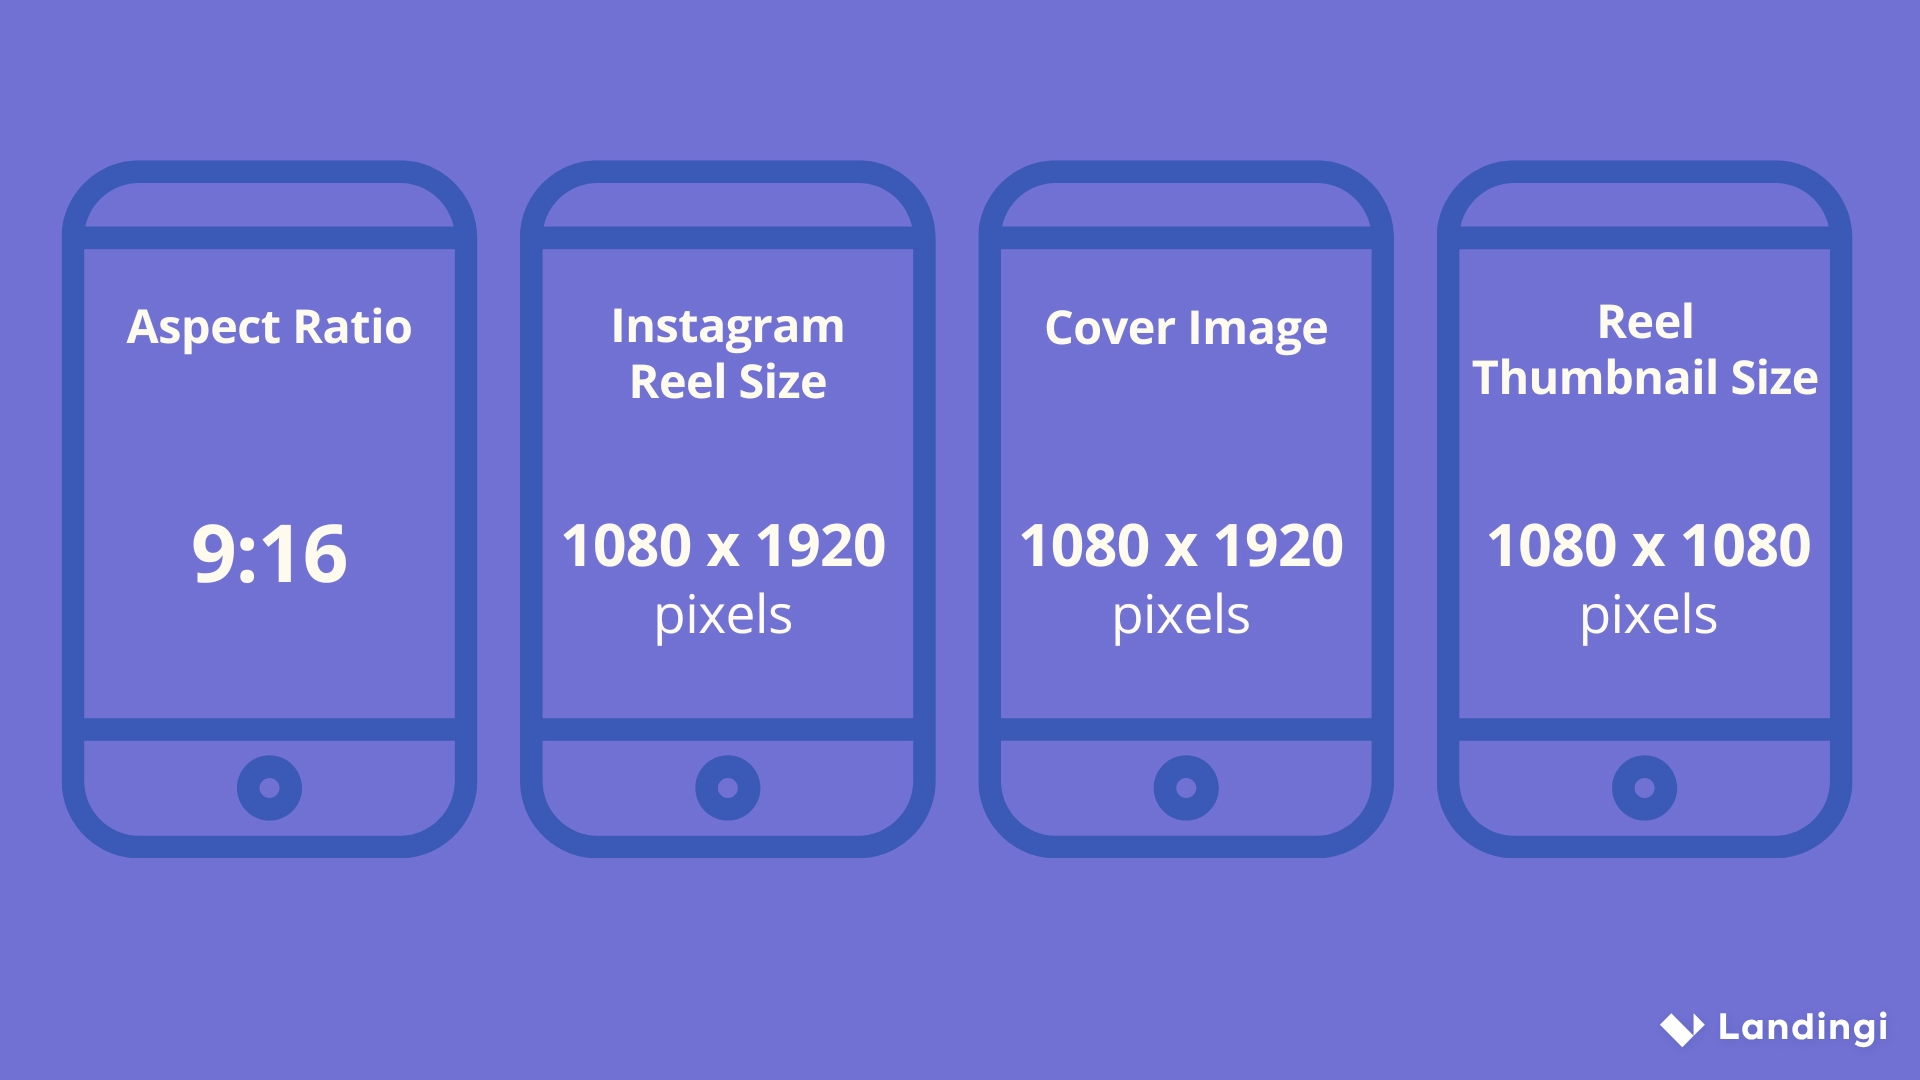
- Keep a consistent aspect ratio (vertical 9:16 is safest) across clips you plan to combine into one carousel or Reel
Conclusion
The Gallery tab is the quiet workhorse of Instagram's upload flow — it's what lets you treat Instagram as a publishing destination for video you've already shot and edited, rather than forcing everything through the live in-app camera.
Frequently asked questions
On the camera screen after tapping +, look for the small square thumbnail preview in the bottom-left corner, or a Gallery/Library tab — tapping either opens your device's saved photos and videos.
Sources
Keep reading
More guides to grow your account.